Ceiling demolition can look simple from the ground.
Then the work begins.
You are reaching overhead, working around framing, pulling stubborn fasteners, and trying to control falling materials. Before long, your shoulders are tired, and the project is taking longer than expected.
So how can you make ceiling demolition more efficient?
The answer starts with preparation, the right technique, and a demolition tool designed for overhead work.
Step 1: Prepare the Work Area
Before removing anything, clear the room as much as possible. Protect floors, walls, doors, fixtures, and any items that will remain in place.
Use appropriate floor and surface protection film or heavy-duty protection paper to help reduce damage from falling debris. Set up contractor garbage bags or demolition waste bags nearby so material can be removed continuously instead of creating a larger cleanup problem later.
Always identify electrical wiring, plumbing, HVAC components, and other hazards before starting.
Step 2: Wear the Right Safety Equipment
Ceiling demolition creates falling dust and debris.
At a minimum, use proper eye protection, work gloves, protective footwear, hearing protection, and respiratory protection when conditions require it. A hard hat may also be appropriate depending on the work area.
The goal is to remove materials efficiently without creating unnecessary risk for yourself or your crew.
Step 3: Create a Starting Point
The first opening is often the hardest part.
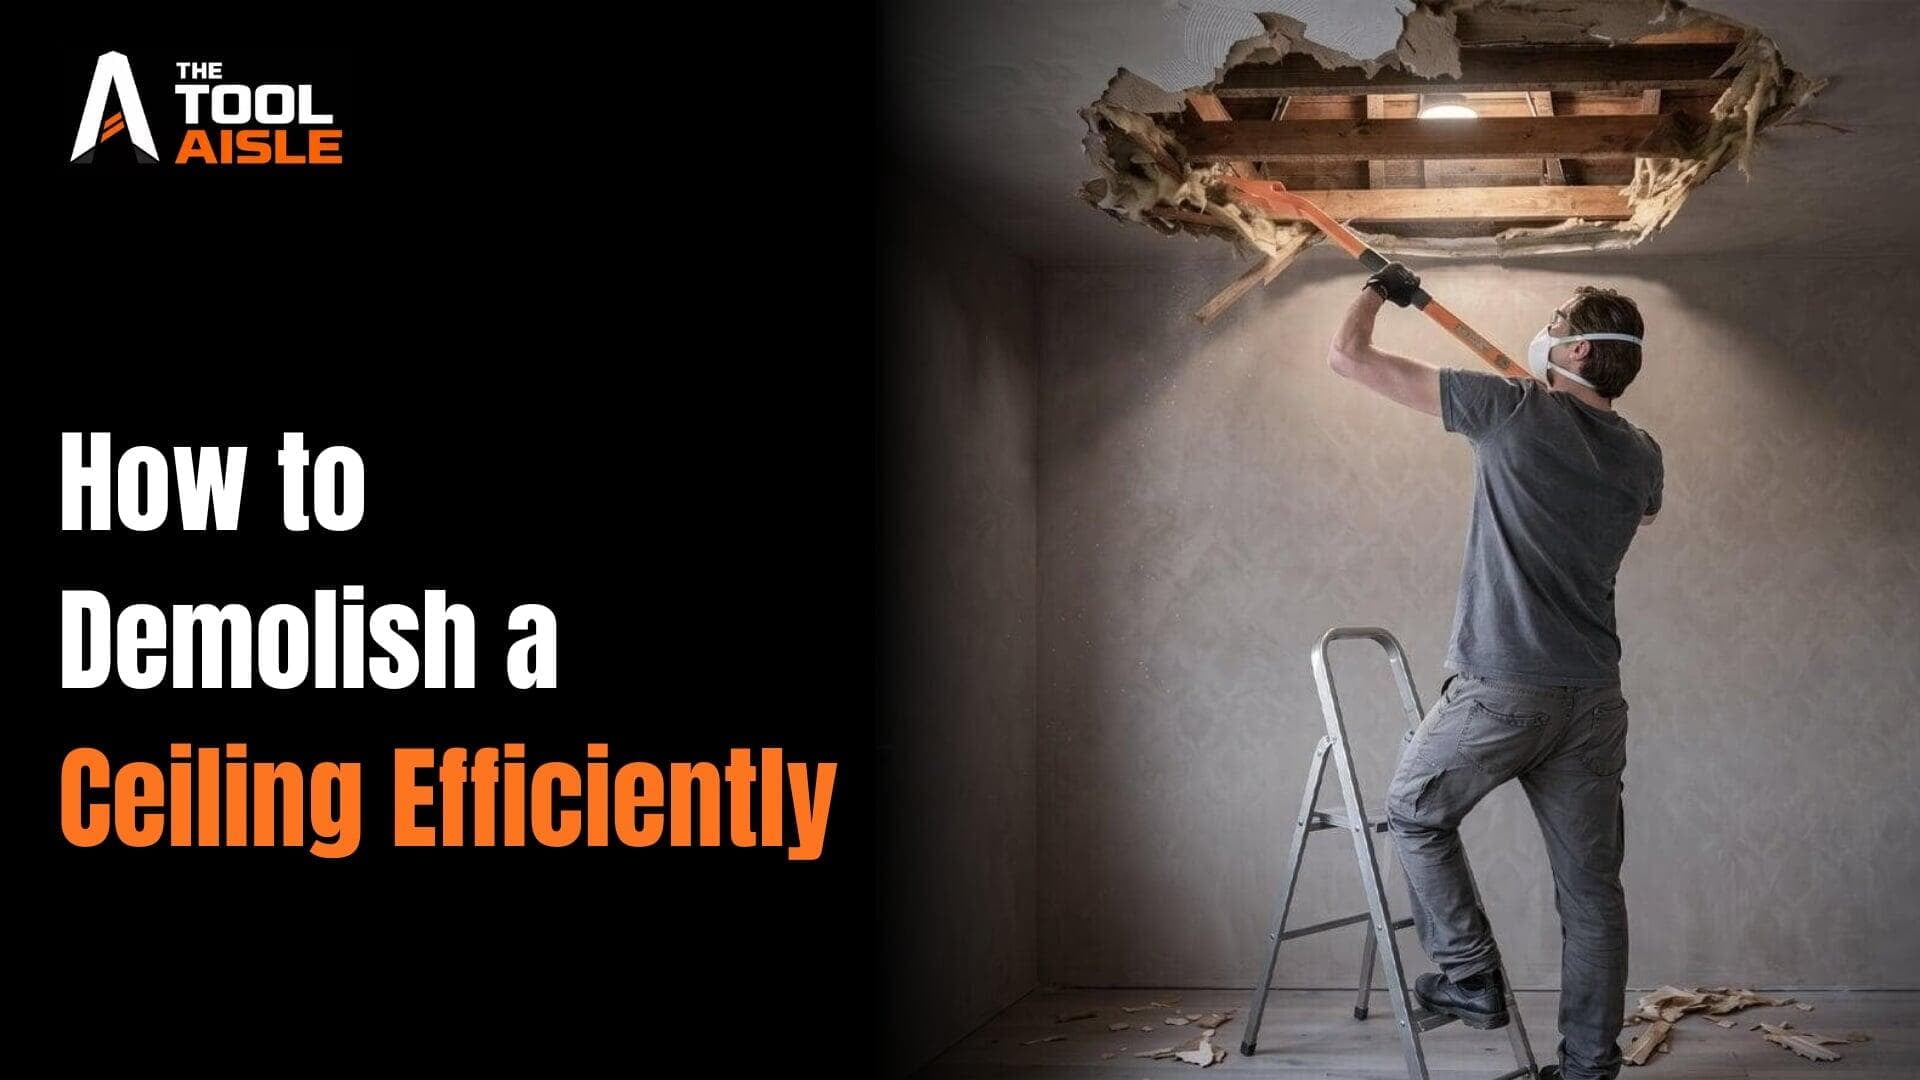
A standard pry bar may struggle to reach behind ceiling material, especially when you are working above shoulder height. A longer demolition bar with spear-shaped tips can help create an opening and get behind the material faster.
The 48” Wall & Ceiling Demo Bar is designed for this type of overhead work. Its sharpened tips are made to penetrate drywall, ceiling materials, floors, and other building components.
Once you create a starting point, work outward in manageable sections.
Step 4: Use Leverage Instead of Force
Are you pulling with all your strength, or is your tool helping you create leverage?
The angle of a demolition tool can make a major difference. The 48” Wall & Ceiling Demo Bar features a steeper head angle designed to improve leverage when working in front of you or overhead.
Its angled lift plates help transfer momentum into lifting force, while the flat skid plates provide stability during prying.
That means less wasted movement and better control over each section you remove.
Step 5: Work Around Joists and Fasteners
Ceiling materials often resist because they are attached to framing, joists, and nails.
The bar’s straddle-the-joist design helps apply force across both sides of the material. This can make removal more balanced than prying from one side at a time.
When you reach fasteners, the built-in nail puller helps remove a variety of nail sizes without requiring an immediate tool change.
Step 6: Remove Debris as You Go
Do not wait until the entire ceiling is down to begin cleanup.
Removing debris in stages keeps the work area safer and gives your crew more room to move. It also makes it easier to separate reusable materials, waste, and hazardous debris.
A clean work area helps the demolition process stay organized from the first strike to the final nail.
Choose a Tool Built for Overhead Demolition
The 48” Wall & Ceiling Demo Bar is approximately 20% lighter than the standard 48” Versatile Demo Bar, helping reduce fatigue during extended overhead work.
It combines a reinforced round steel handle, spear-shaped tips, angled lift plates, flat skid plates, and a built-in nail puller in one professional demolition tool.
For contractors, remodelers, restoration crews, and emergency responders, the right tool can make ceiling removal more controlled and less exhausting.
Why the Right Bar Matters on Long Jobs
The difference becomes even more noticeable on larger projects.
Removing one small ceiling section may not seem difficult, but repeated overhead work can quickly affect your pace, grip, and accuracy. When every section requires excessive force, fatigue builds up, and mistakes become more likely.
A purpose-built wall and ceiling demolition bar helps you maintain a more consistent rhythm throughout the job. The longer handle provides reach, while the angled head helps improve leverage without forcing you into an awkward position.
Would your crew benefit from making fewer tool changes and using less effort on every section?
That is the practical advantage of choosing a demolition tool designed around the demands of overhead work.
Final Thought
Efficient ceiling demolition is not about rushing.
It is about preparing the space, protecting the work area, using safe technique, and choosing a tool that gives you better reach and leverage.
When your equipment works with you instead of against you, the job becomes easier to manage, from the first strike to the final nail.